In my earlier articles, I explained, how to RESTORE the backup from URL using T-SQL, SQL Server Management Studio (SSMS) from windows Azure storage and it was quite simple & easy to understand. In this article, I will explain how to RESTORE the backup from URL using PowerShell.
Pre-Requisite :
- Microsoft Azure – How to create storage and container
- SQL SERVER 2014 – How to take backup to URL (Windows Azure Storage) – PowerShell
Let me now demonstrate in few easy steps how to RESTORE backup from URL using PowerShell.
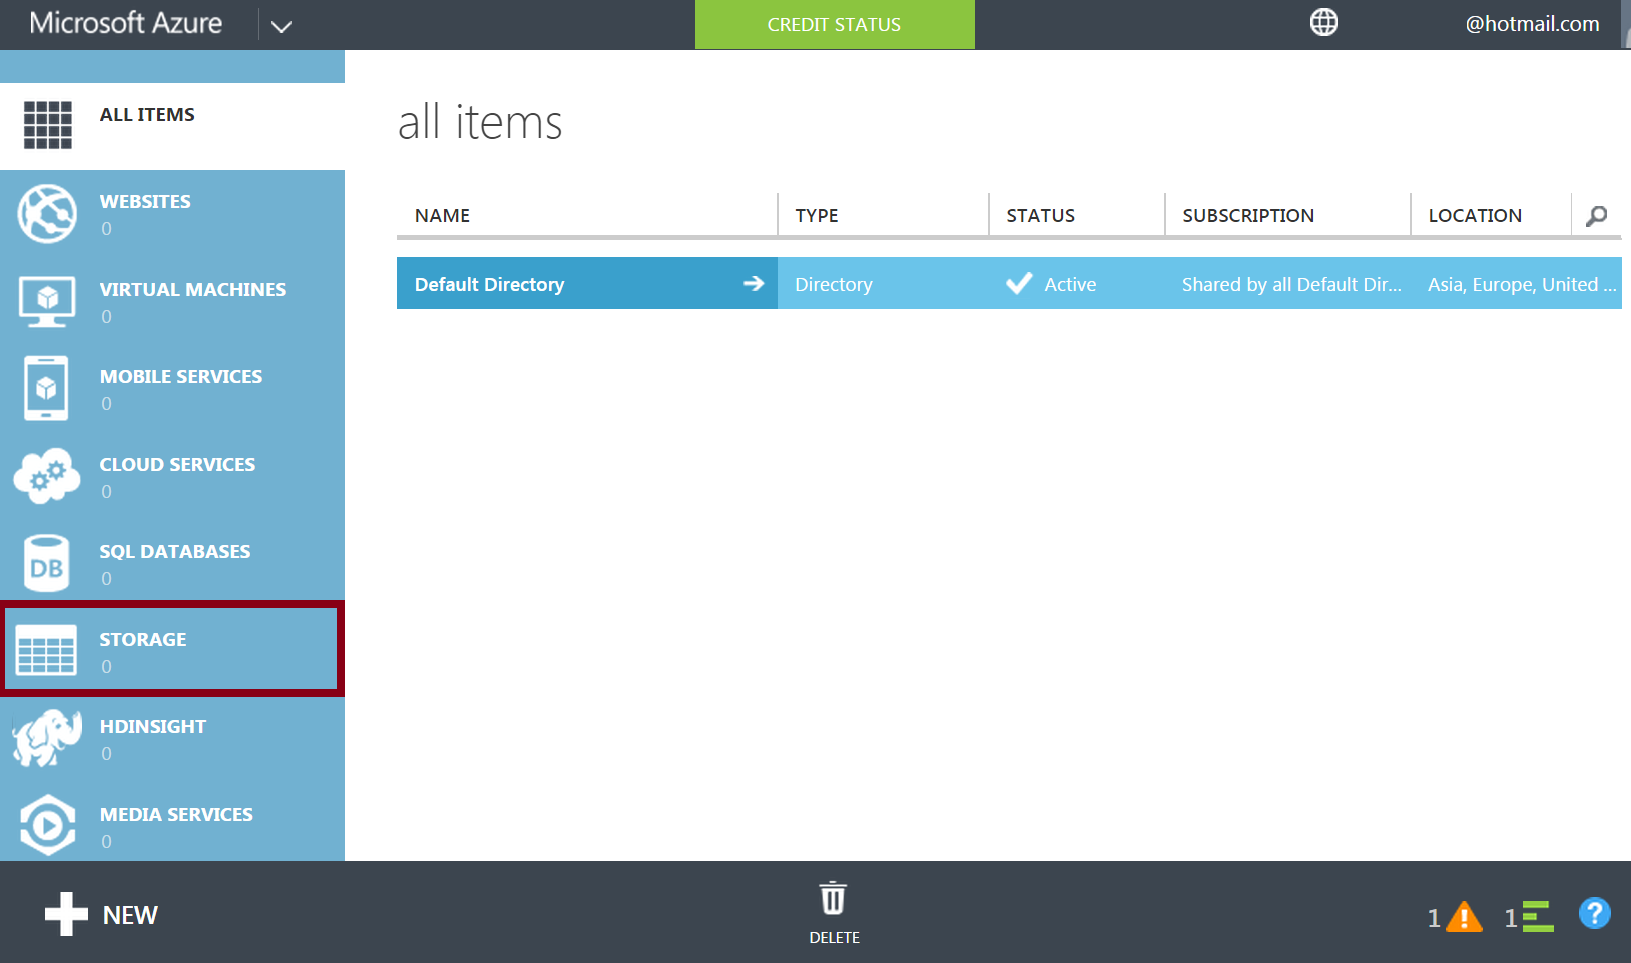
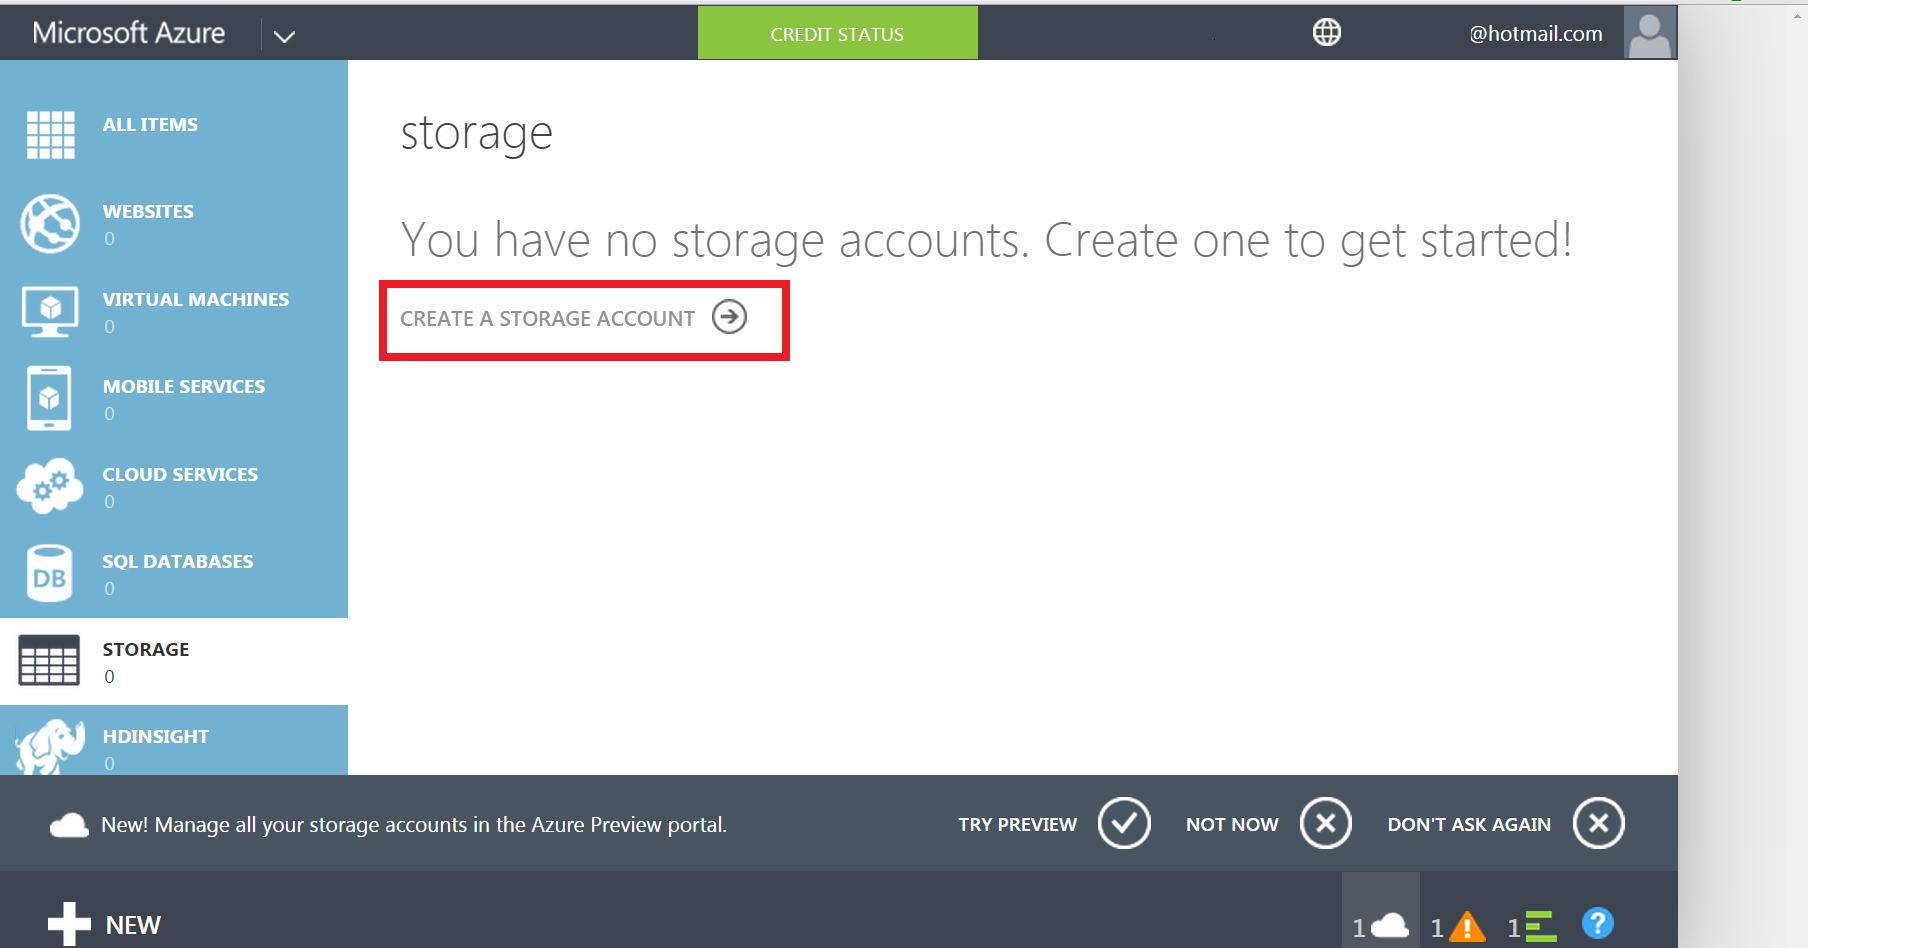
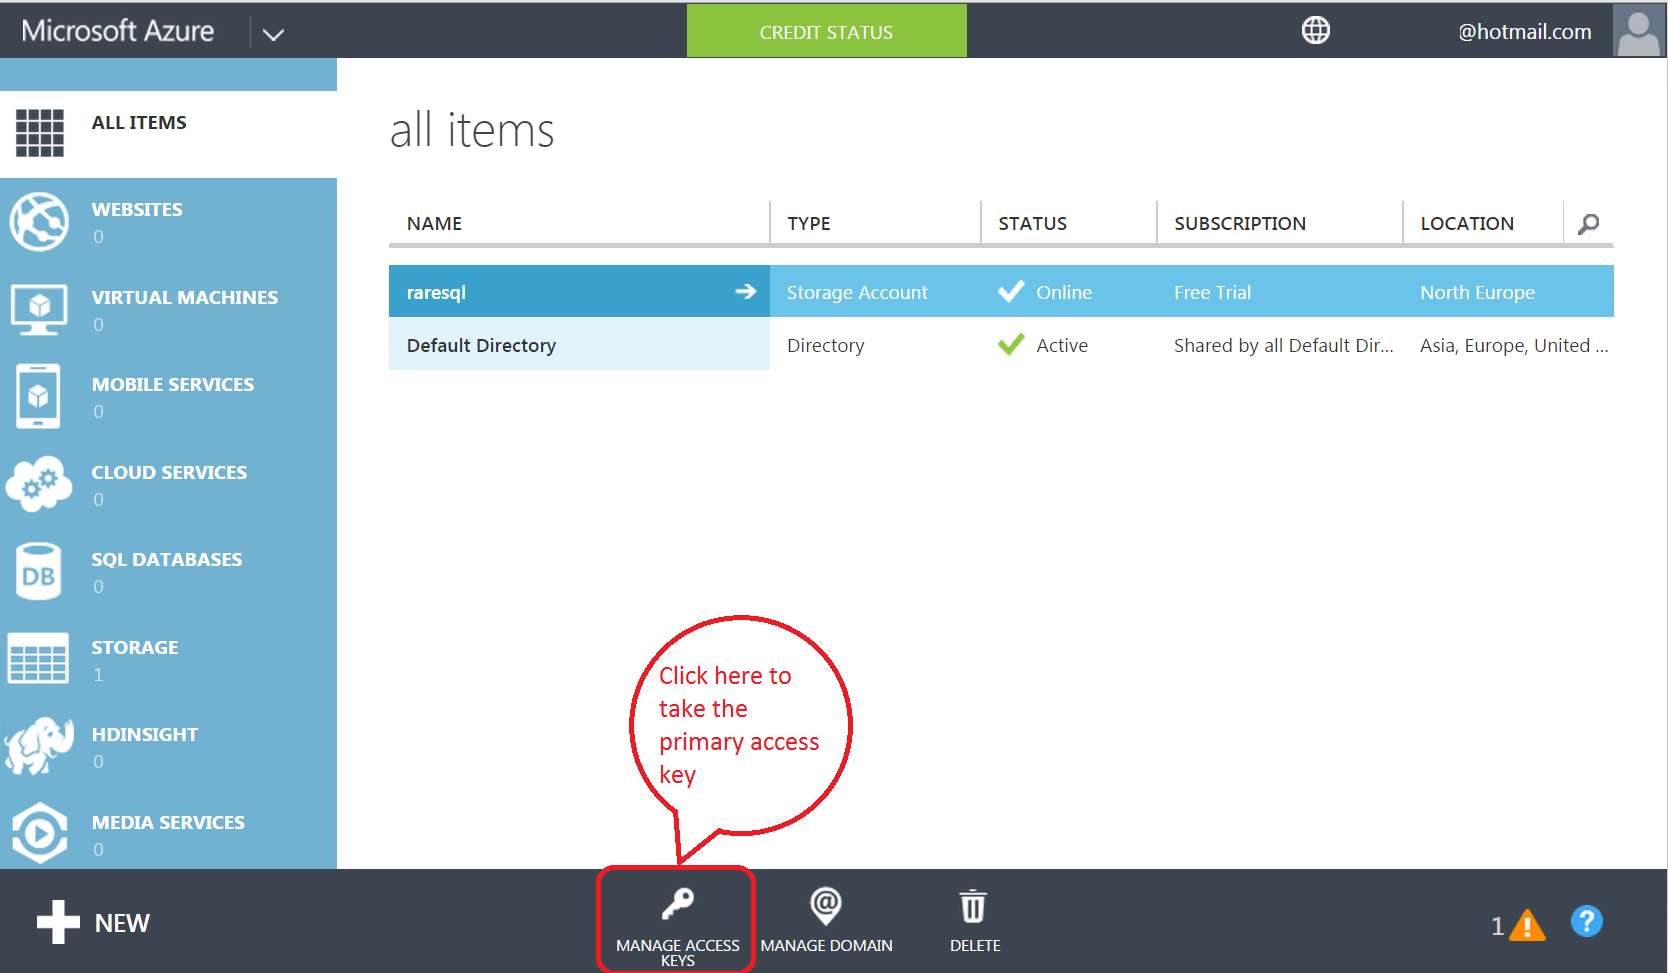
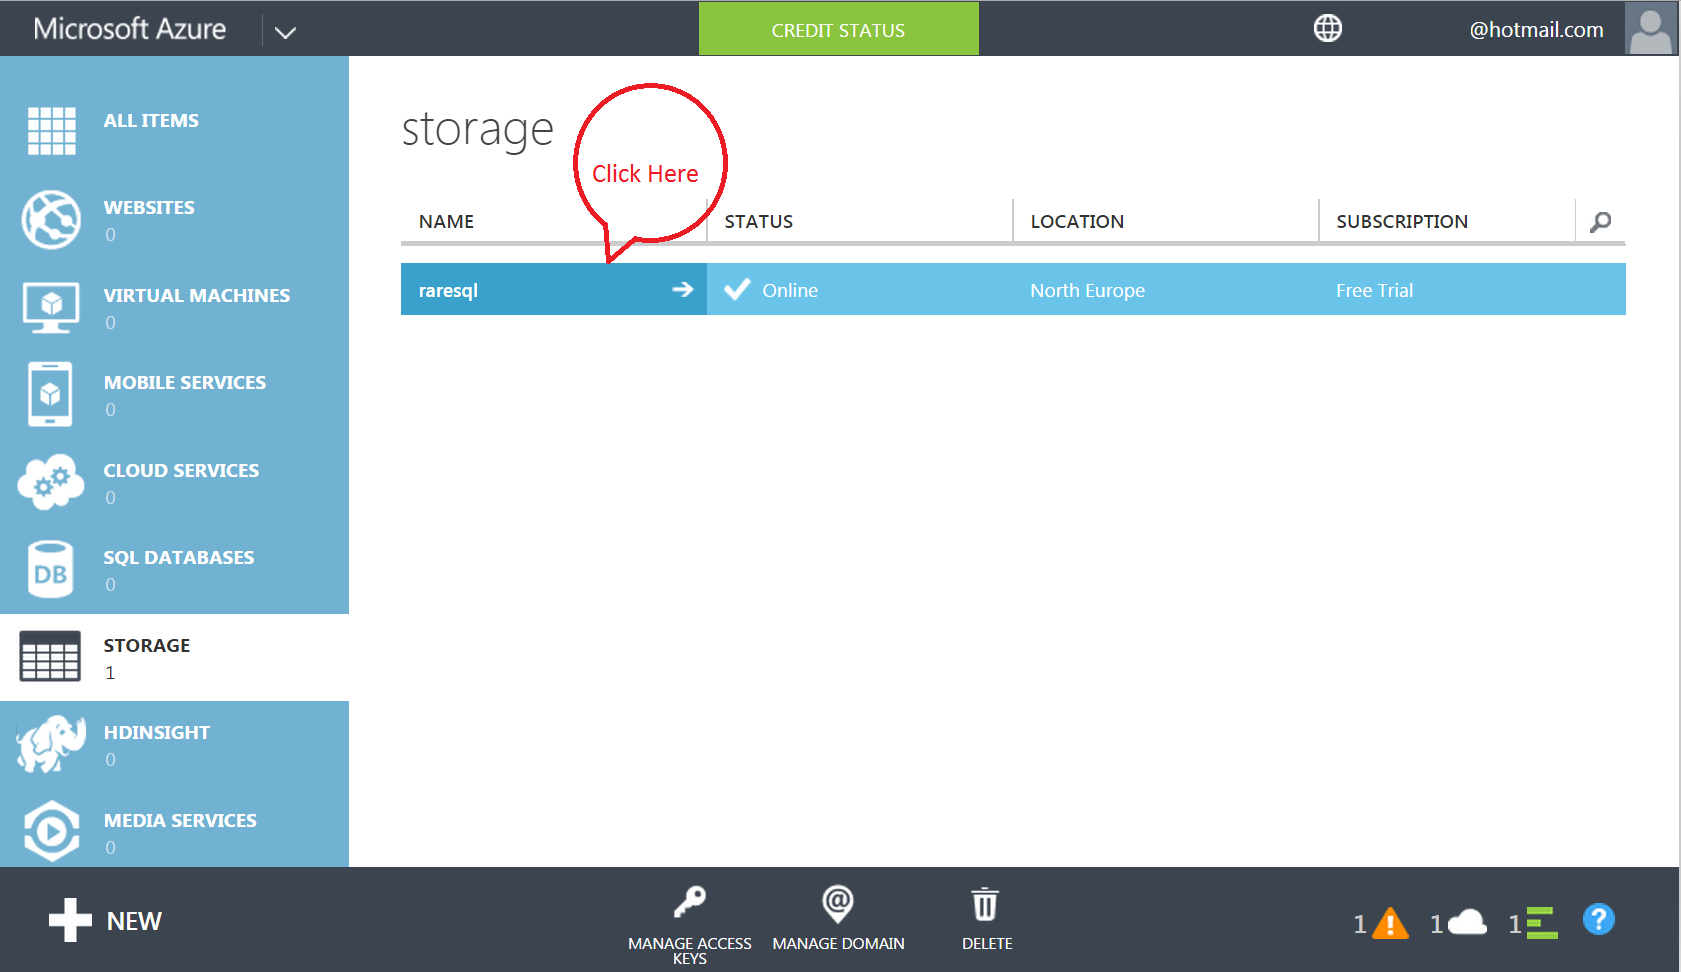
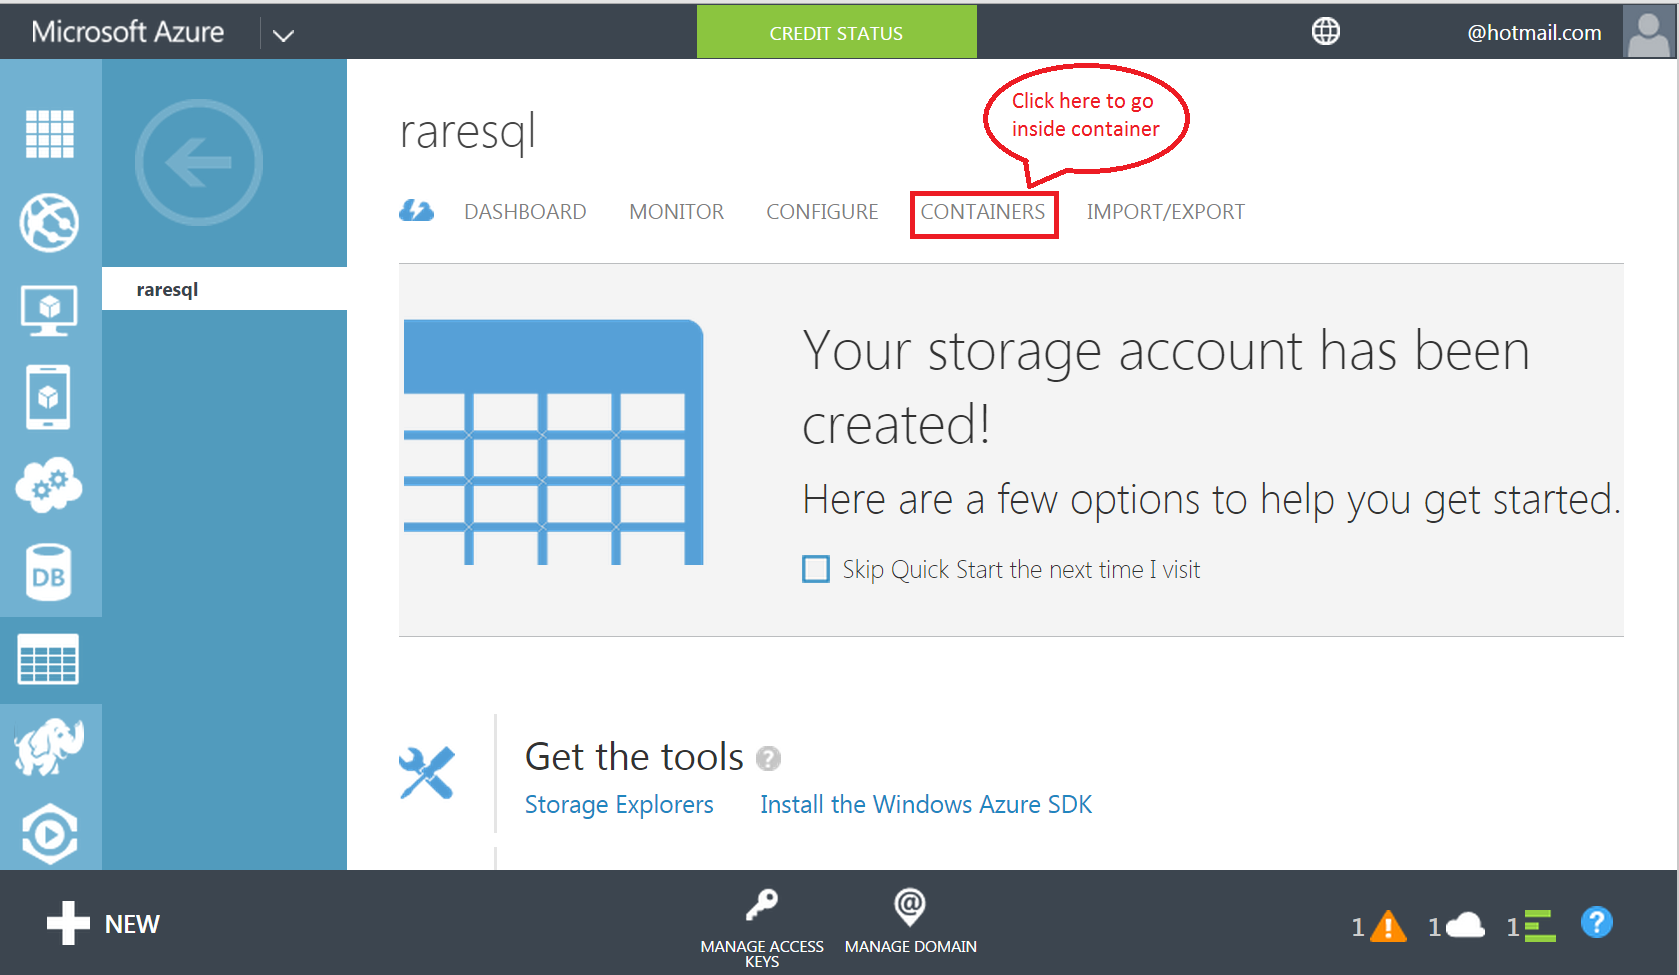
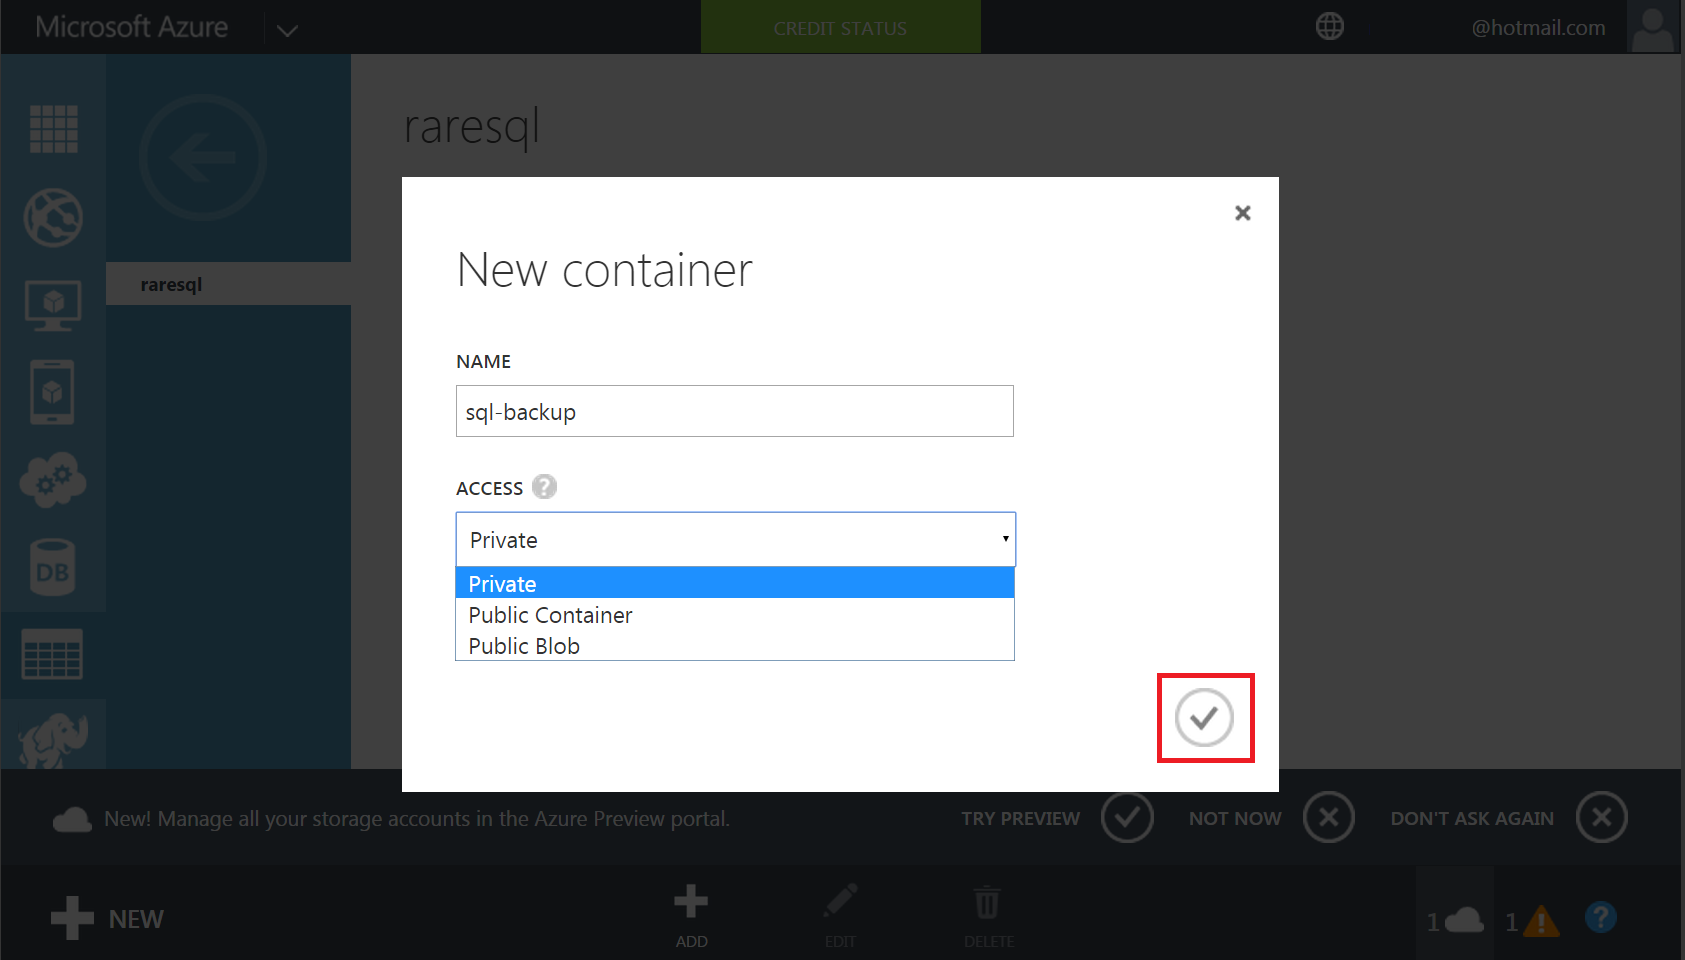
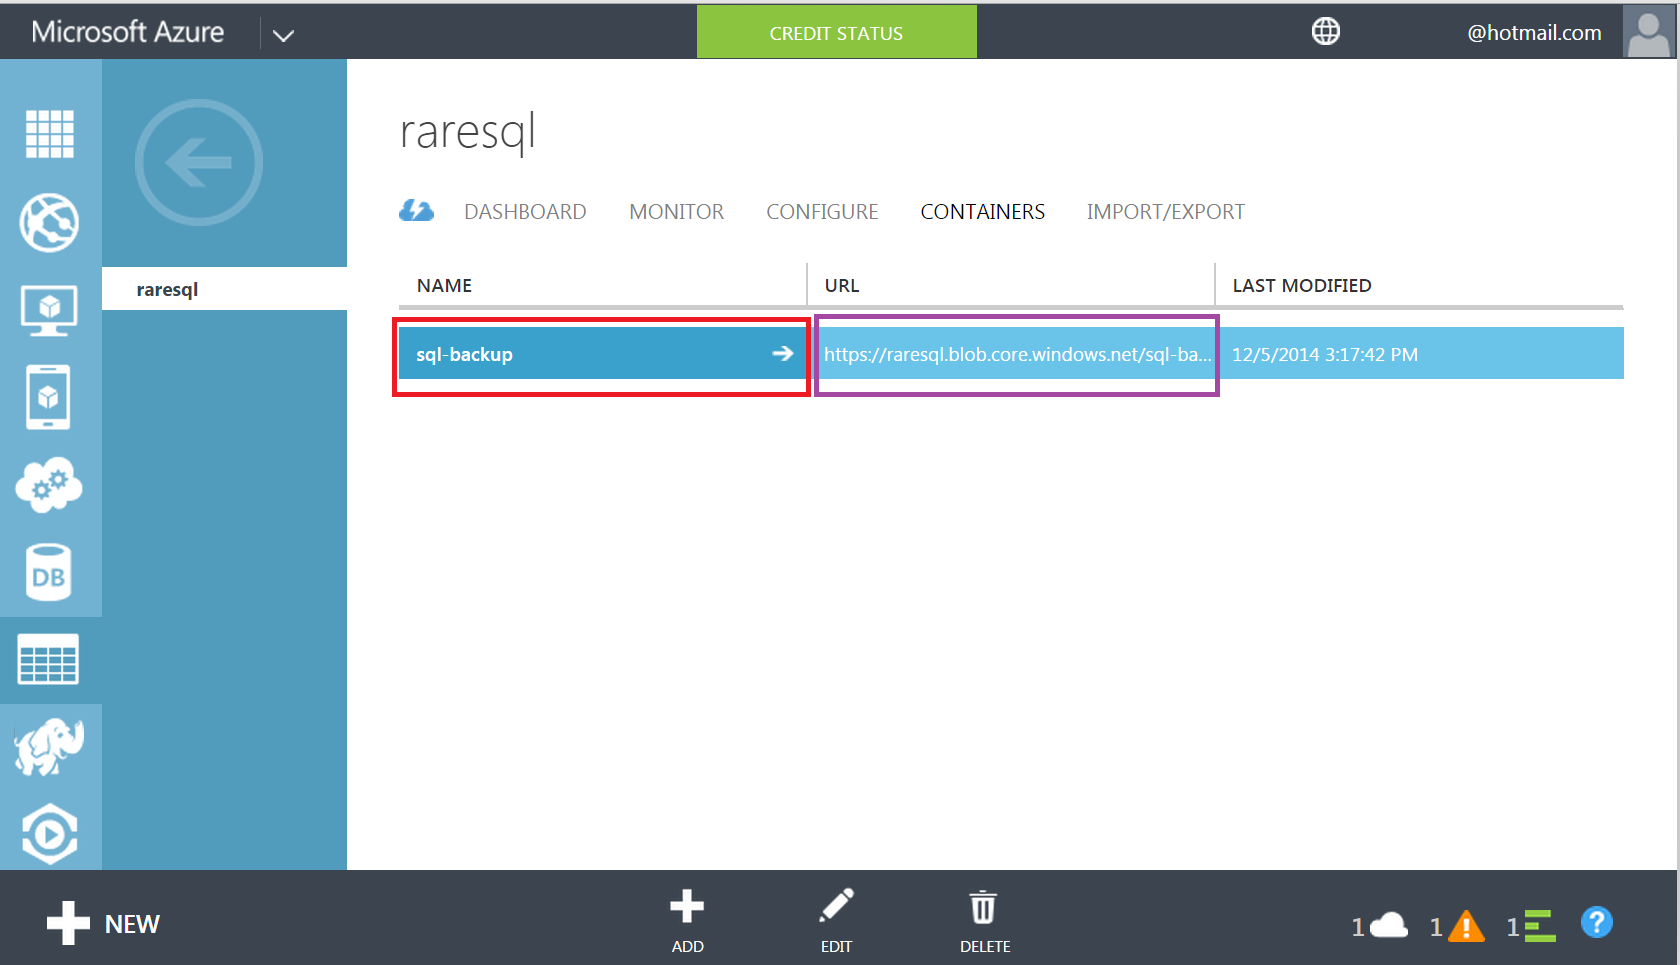
Step 1 – Create Account, storage & container :
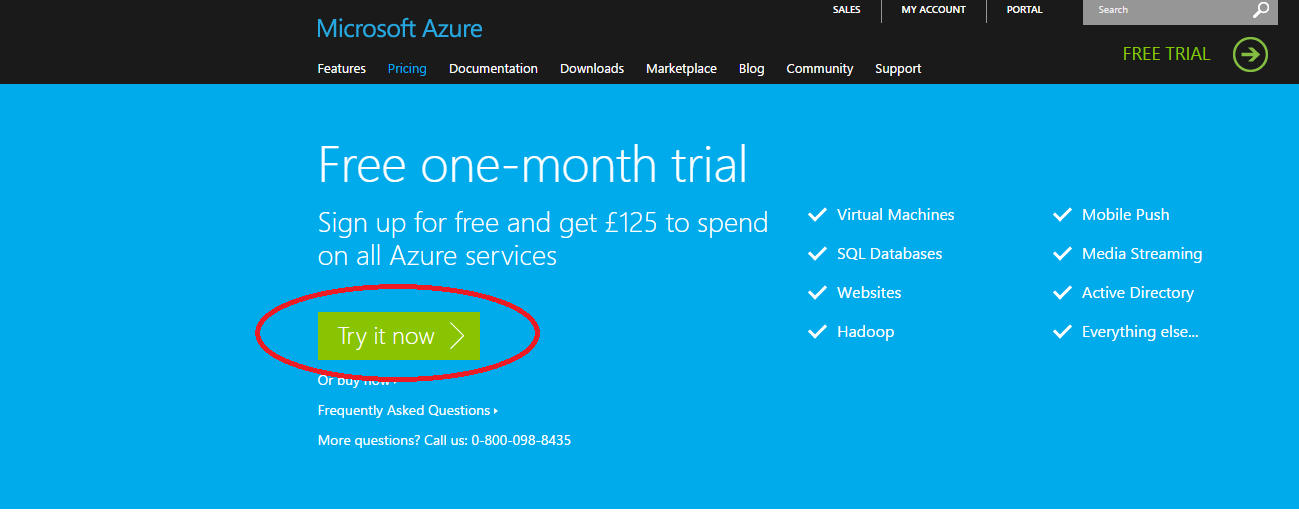
First of all, you need to create a windows Azure account, a storage and a container as explained in this article.
Step 2 – RESTORE backup to URL :
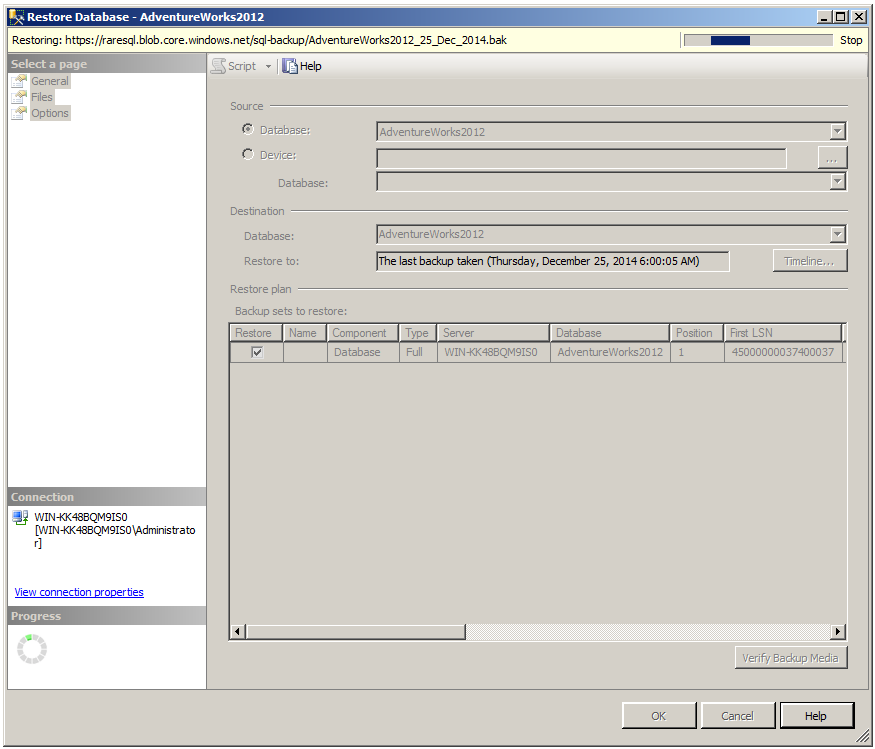
Once you created the the Azure account, a storage and container and made sure that your backup is available in the windows Azure storage, you can RESTORE the backup from URL using given below script. In this script, first of all I declared the variables , then created credentials. After that RESTORED the backup as shown below. Rest of the script is self explanatory. Make sure that you have downloaded PowerShell Extensions for SQL Server in case you are using Windows PowerShell ISE instead of Windows PowerShell.
#Import sql module
Import-Module sqlps

#Create & set variables
$serverPath = "SQLSERVER:\SQL\WIN-KK48BQM9IS0\DEFAULT"
$storageAccount = "raresql"
$storageKey = "/ByNUTZqJ6EcJR/VQcNmNj+zSu++iCfbcxlyWye6Ok9uhsd5jsd62sjhsd7ksdh7sksdsdlhsd4bsdhsd52ksd=="
$secureString = convertto-securestring $storageKey -asplaintext -force
$credentialName = "My_Credential"

# Create Credential
New-sqlcredential -Name $credentialName -Identity $storageAccount -Secret $secureString

# Set SQL Server instance Path
CD $serverPath

# Set the backup file name
$backupFile = "https://raresql.blob.core.windows.net/sql-backup/AdventureWorks2012_25_Dec_2014.bak"

# Restore Database and move files
$newDataFilePath = New-Object Microsoft.SqlServer.Management.Smo.RelocateFile ("AdventureWorks2012_Data","C:\Program Files\Microsoft SQL Server\MSSQL12.MSSQLSERVER\MSSQL\DATA\AdventureWorks2012_Data.mdf")
$newLogFilePath = New-Object Microsoft.SqlServer.Management.Smo.RelocateFile("AdventureWorks2012_Log","C:\Program Files\Microsoft SQL Server\MSSQL12.MSSQLSERVER\MSSQL\DATA\AdventureWorks2012_log.ldf")
Restore-SqlDatabase -Database "AdventureWorks2012" -SqlCredential $credentialName -BackupFile $backupFile -RelocateFile @($newDataFilePath,$newLogFilePath)

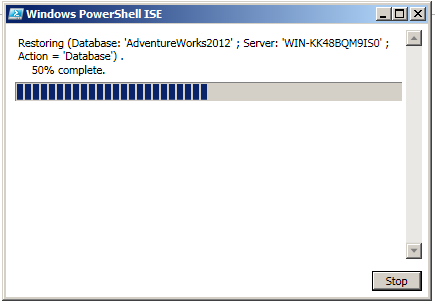

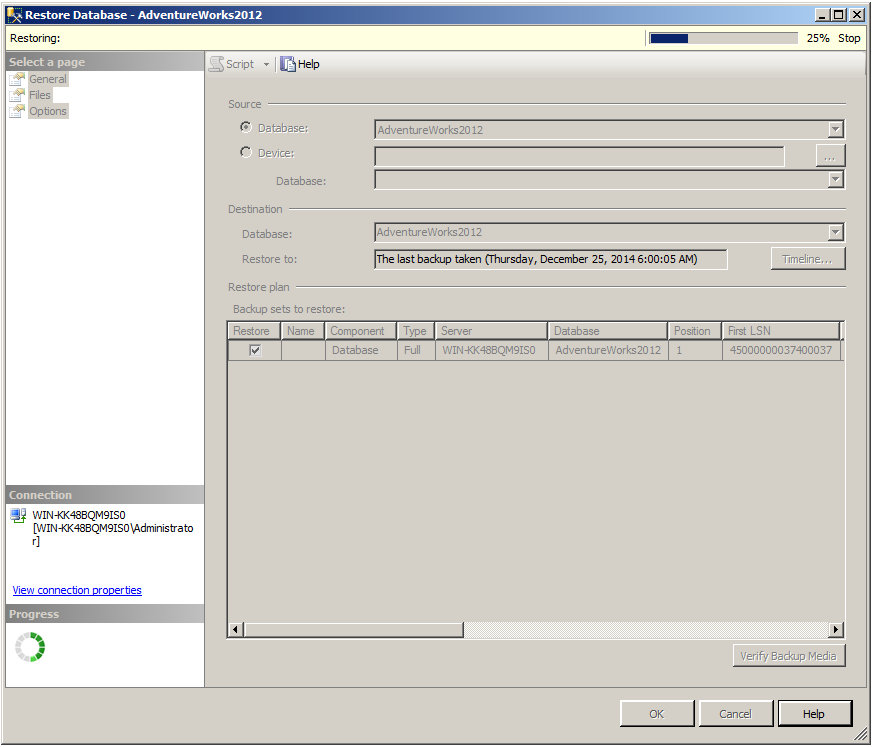
As you can see, the messages show that your backup has been restored successfully.